For my level design I will be using the software Blender which is used for 3D modeling.
First I created a plane and I scaled it so far. I then subdivided it multiple times until I thought it was right.
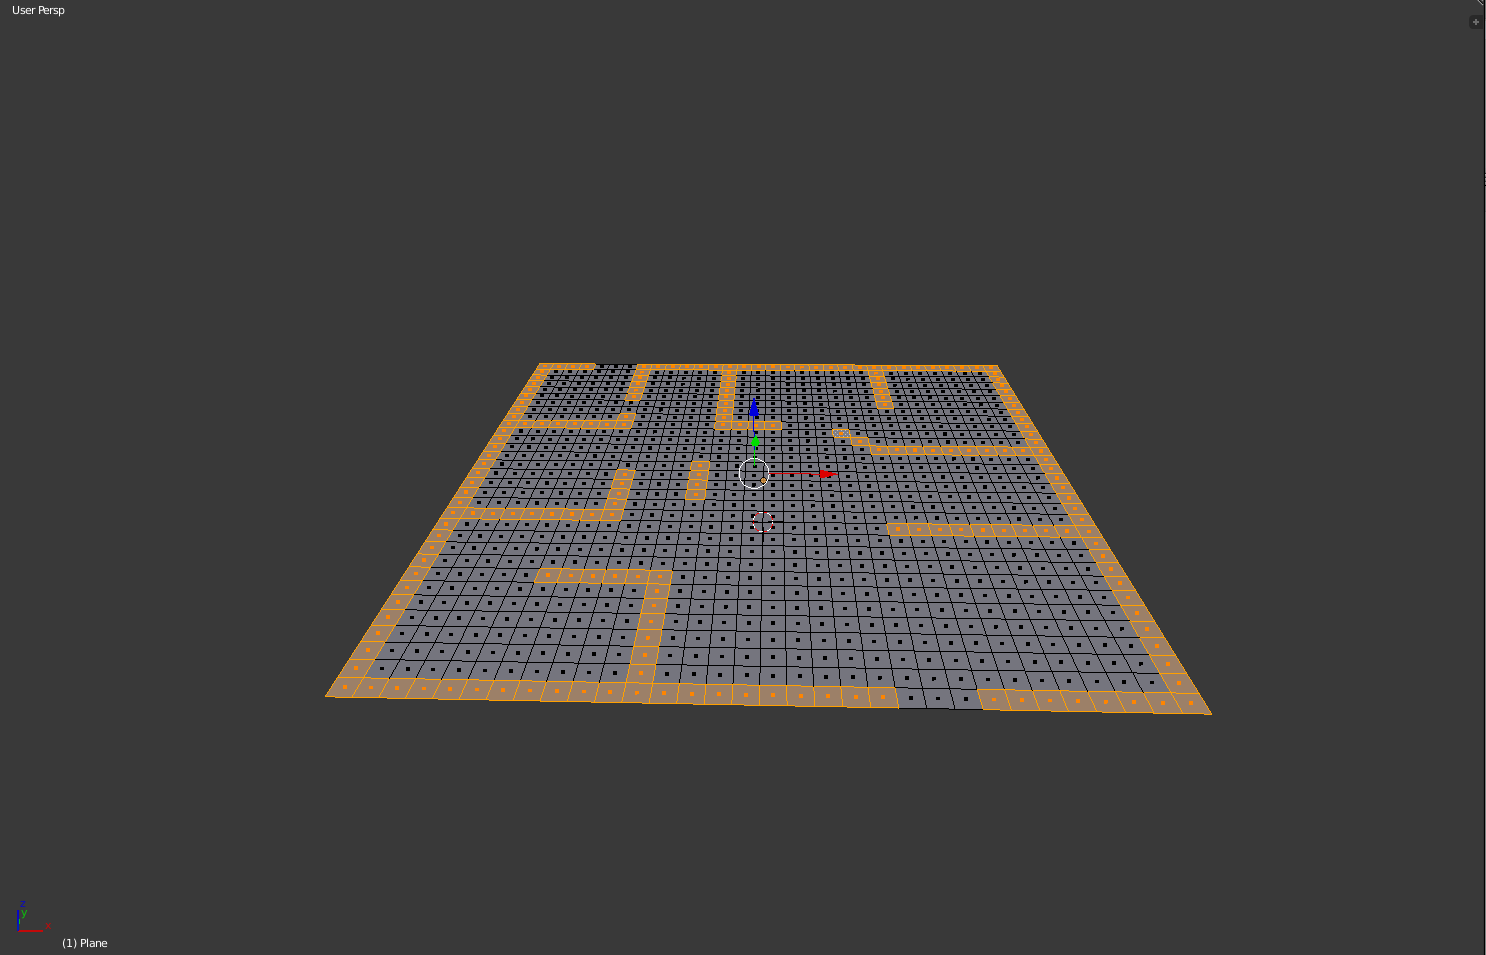
I then extruded the selected faces to make them look like walls and obstacles.
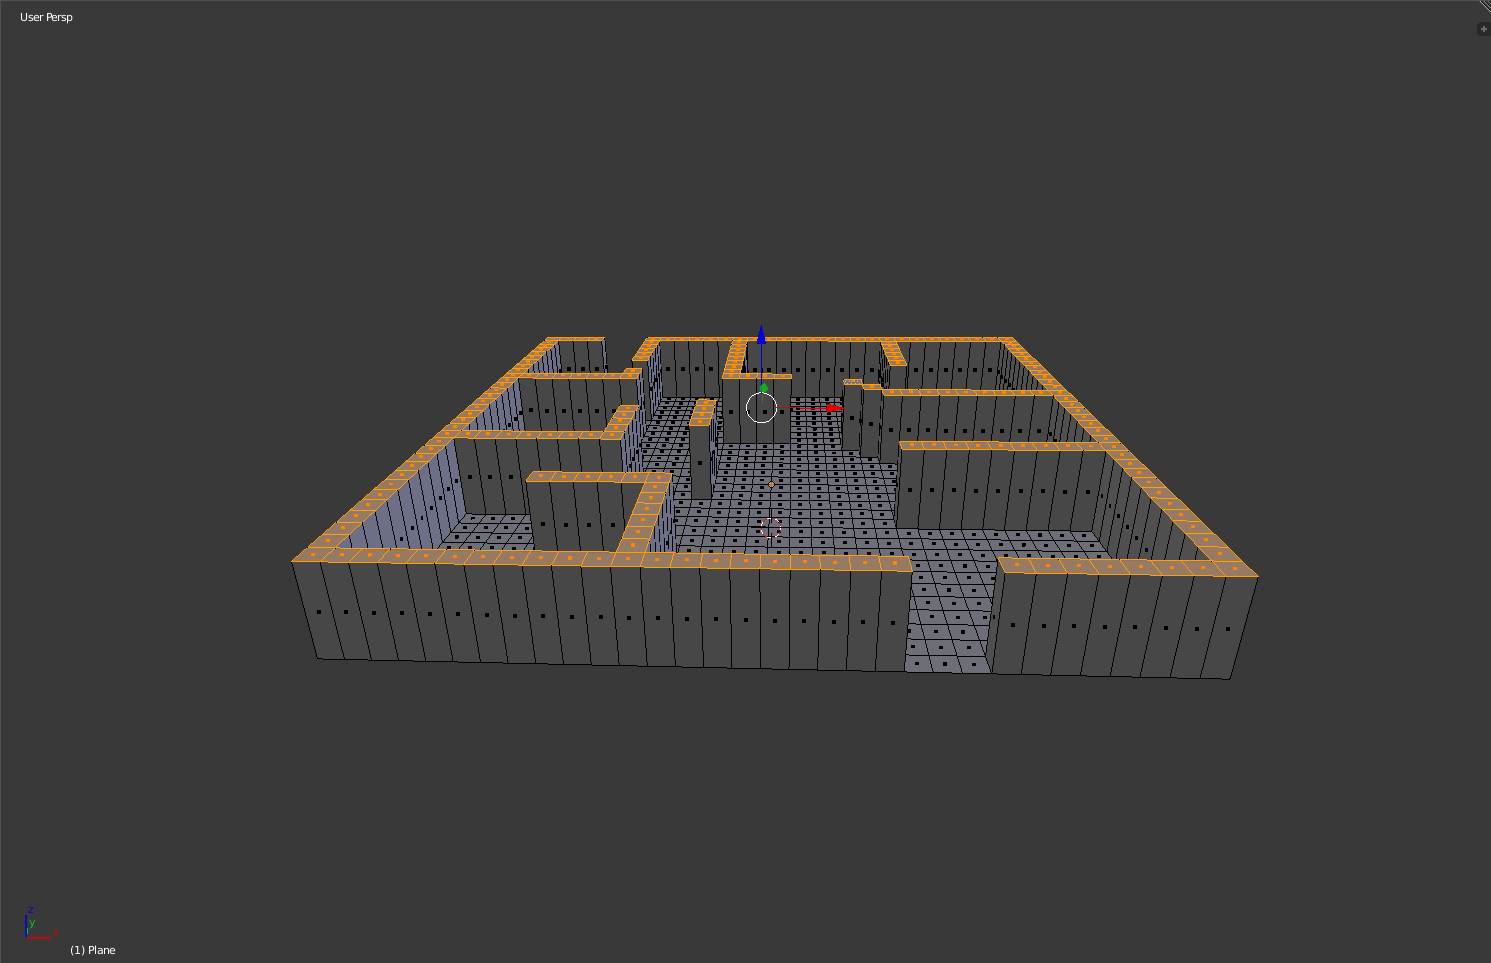
After getting the walls and other obstacles out of the way I decided I would extrude the edges that i left out, These will be used for teleporting areas or they will be used to hold ammo.
The image below show what the non textured version of my level is looks like in blender
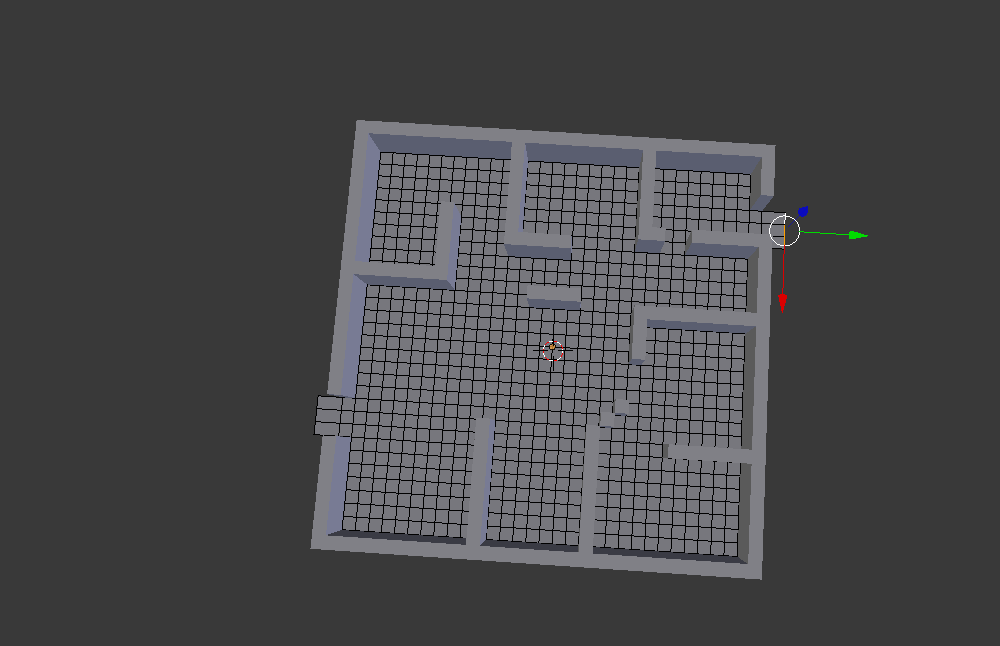
when texturing my arena I dont have a lot of time to create textures for all individual assets so I will be using some texture from unity's asset store. If I had more time to create my game I would have created all my textures using a software like photoshop or I would create them on the online art programme called piskel.
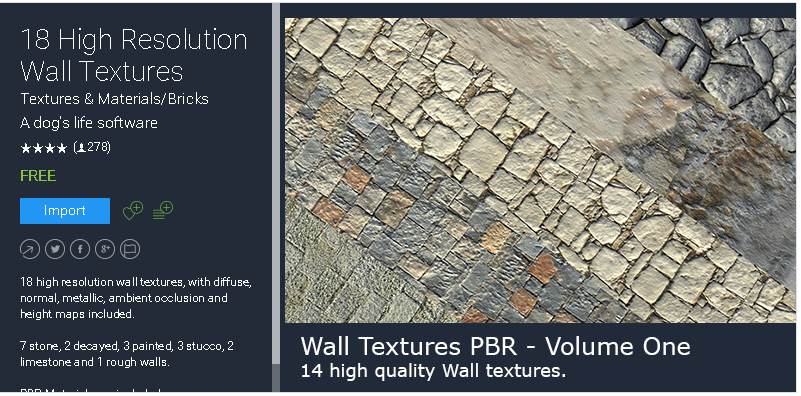
For the walls and floor of my level I will be using the '18 High Resolution Wall Textures'
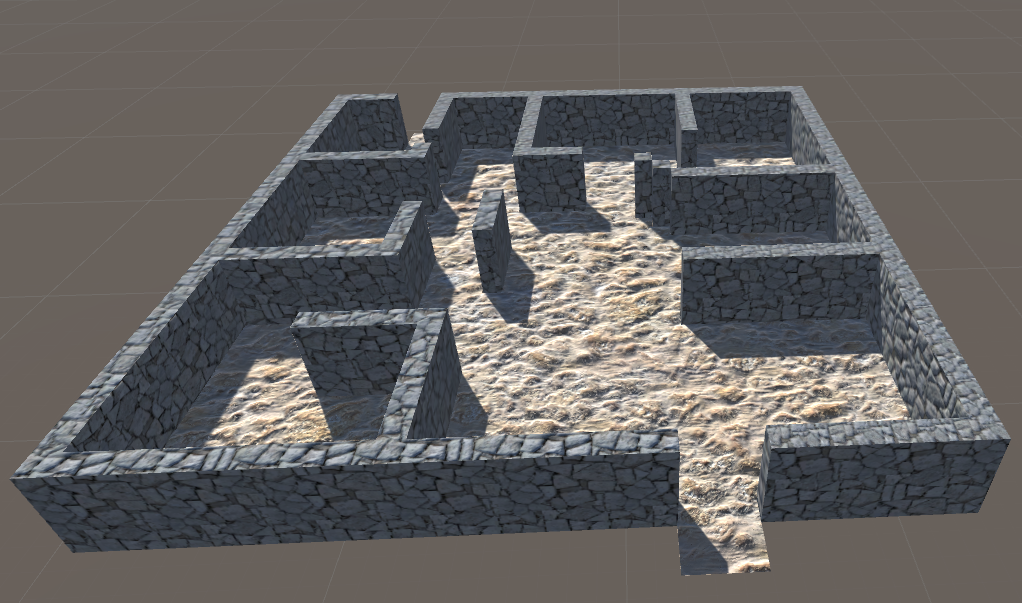
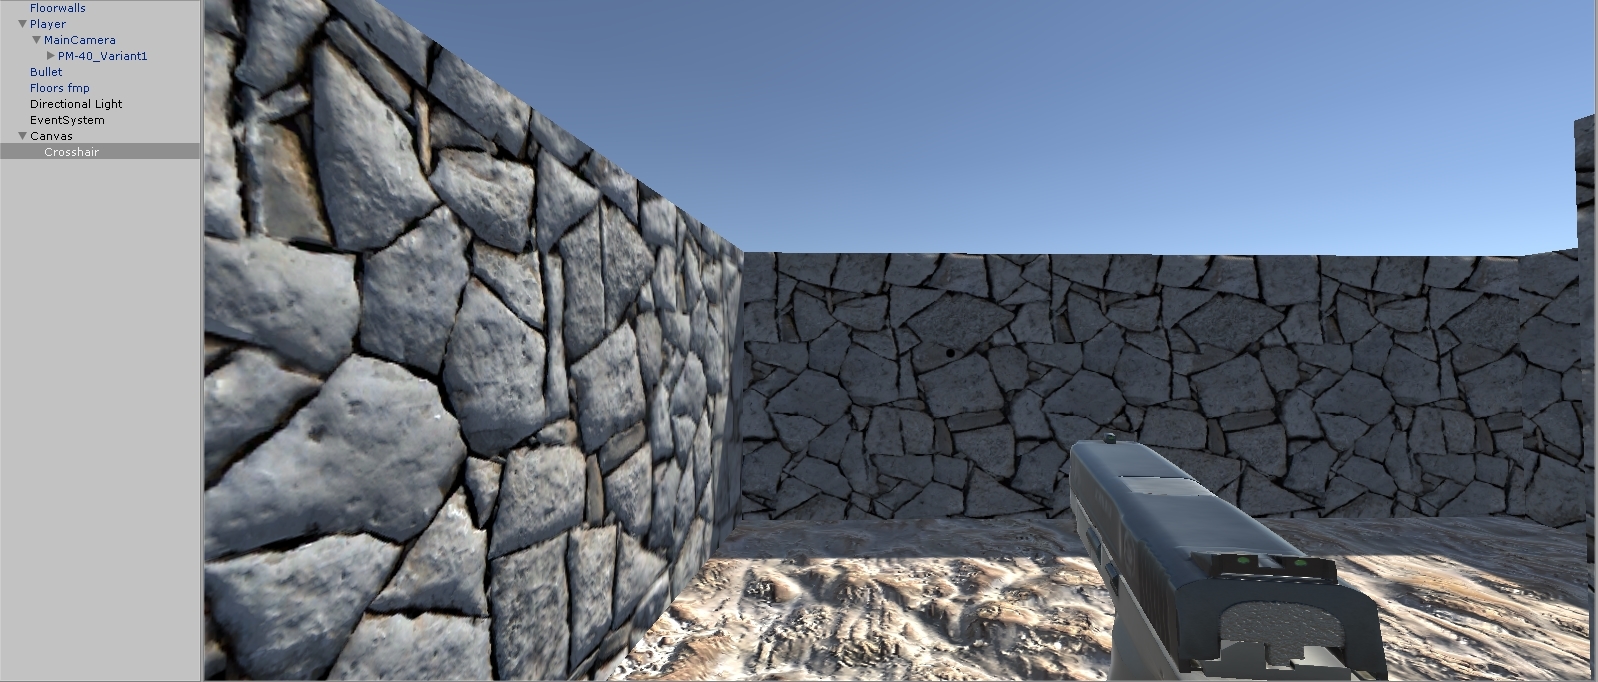
When textured this is what my level looks like.
Making assets
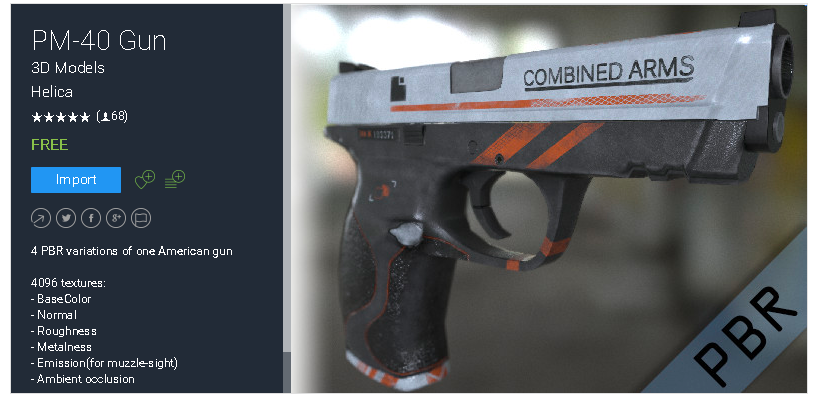
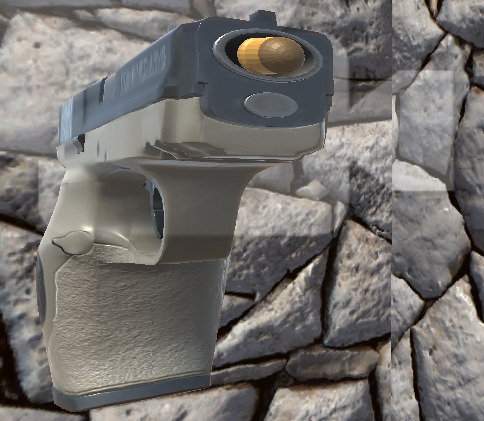
For the weapons of my game I will be using an already made asset because I dont have enough time to make all the assets for my prototype.
For the starter gun I will be using the 'PM-40 Gun' that can be found on the unity asset store
Ammo
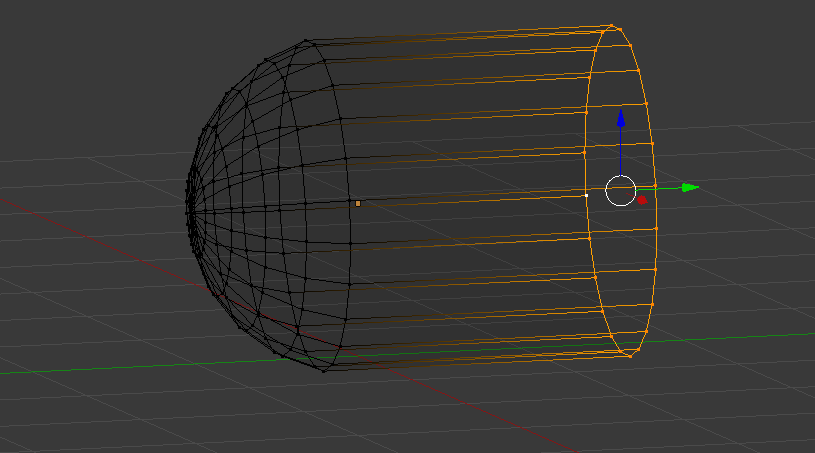
When making the ammo for the weapon of my game I will be using the 3D modeling software Blender.The ammo will be used for when the player walks in front of the ammo the ammo count increases.
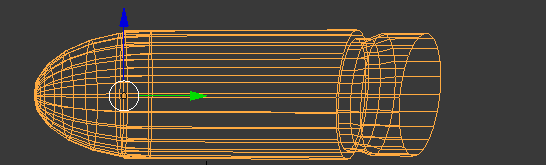
To start off I used a UV Sphere and cut it in half
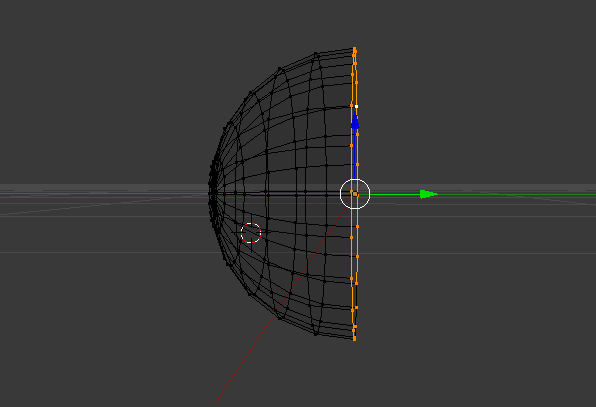
Then I extruded the selected side. After extruding I scaled it down and extruded it some more until it looked like a bullet.
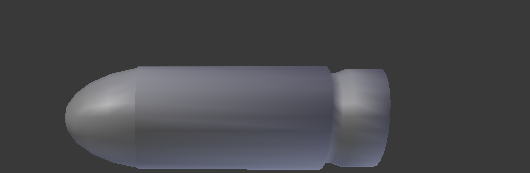
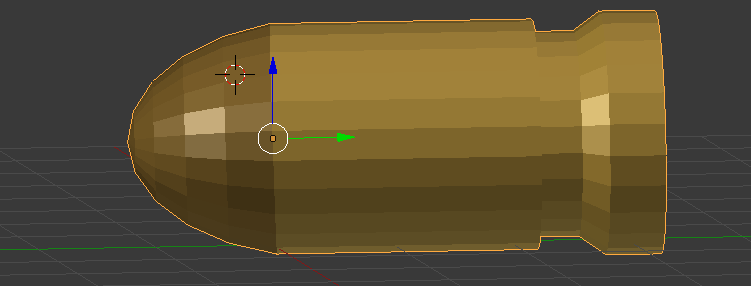
After getting the shape I then added the materials to it to make it look like a 9mm bullet.
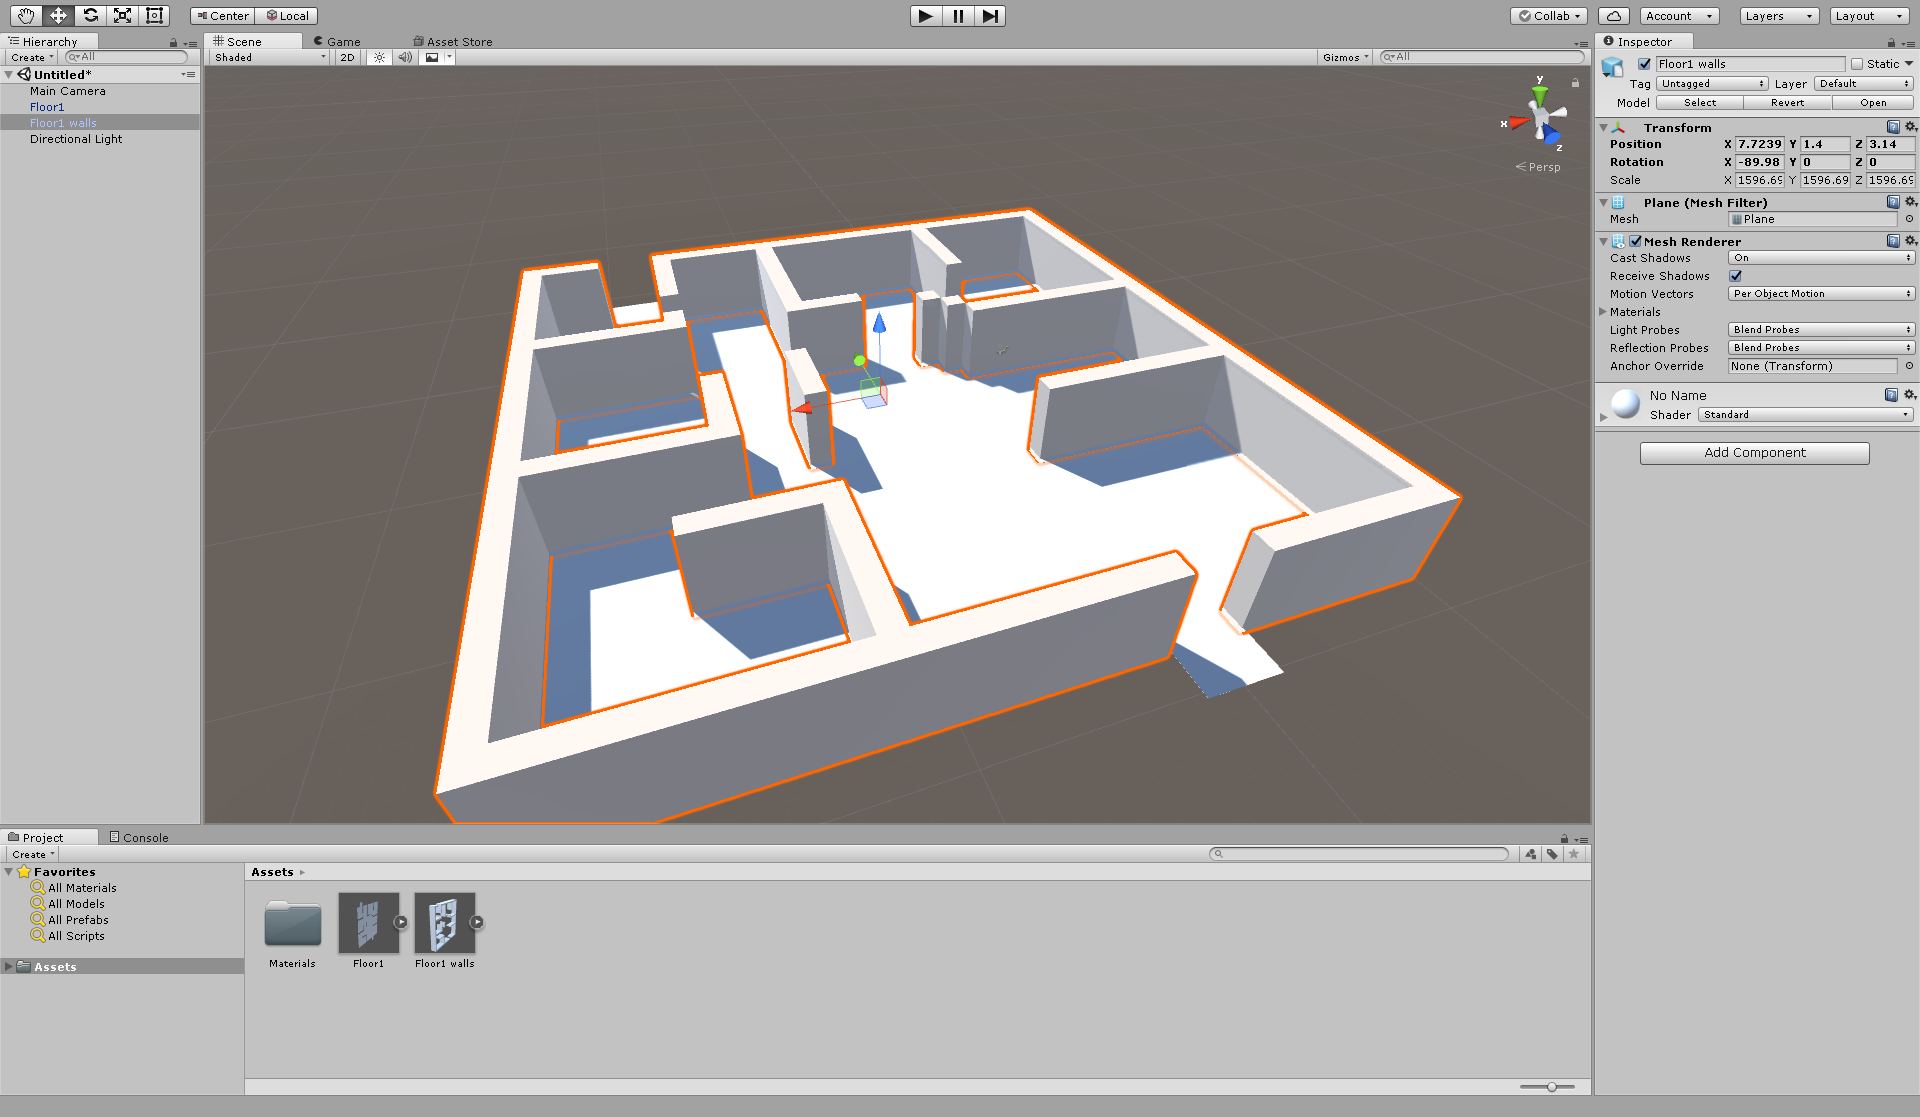
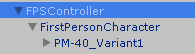
Pairing the camera with the gun.
To pair the gun to the camera I put the gun asset in front of the first person camera where I would like it to be in the game and then I moved the gun in the hierarchy and put it inside the character controller.
Making a crosshair
To make the guns crosshair I added a ui image to the hierarchy and used the 'knob' source image. I scaled the height and width to 10 and changed the colour of the dot to black so you can see where to shoot.
Making the gun fire
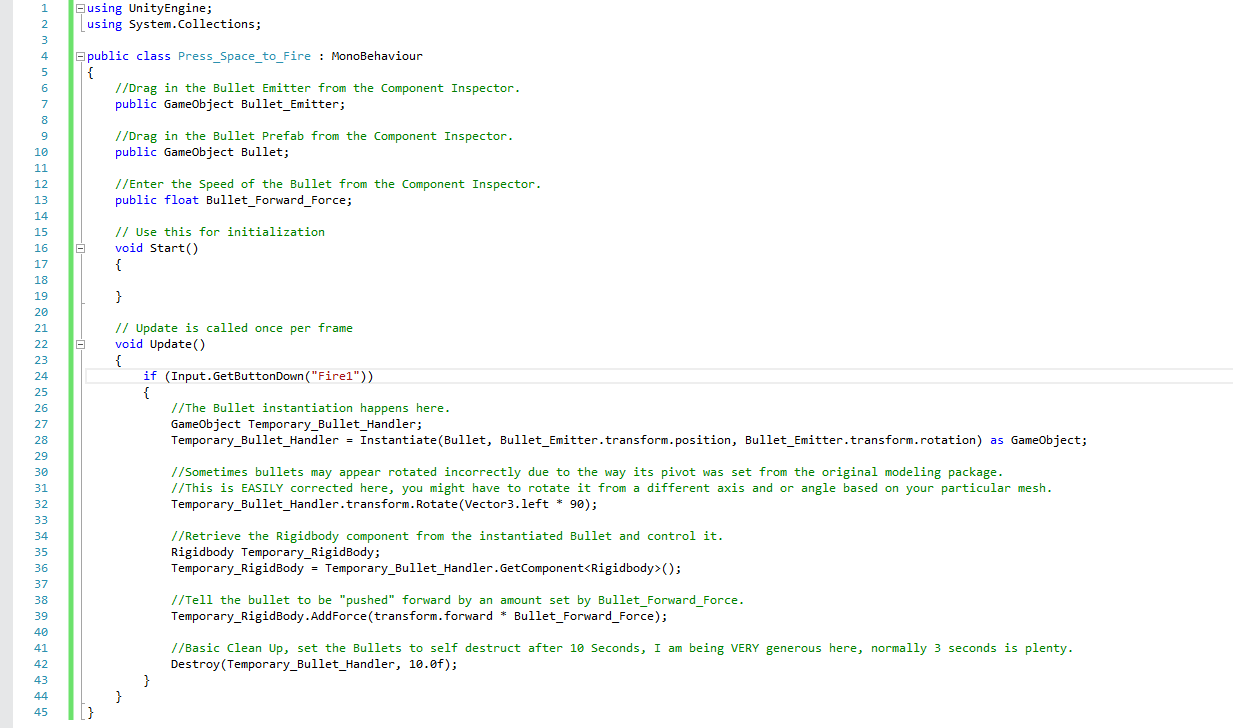
After getting all the assets ready for my weapon I decided I was going to make the gun fire.
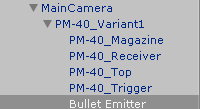
To start off I created an empty object and called it 'Bullet Emitter', I then put the empty object into the weapon folder in my hierarchy.
After making the emitter I put the bullet i made earlier where I wanted the bullet to shoot from.
I then used C# to make it so the gun had a bullet and the emitter sub heading. I also coded so when I press the left mouse button 'Fire1' the bullet shoots out of the gun.
Making a muzzle flash
When making a simple muzzle flash i first created a particle system and I was sorting out the options of the particle system until I thought it was like a muzzle flash. I also added a point light ot the particle system to give the light a bigger impact.
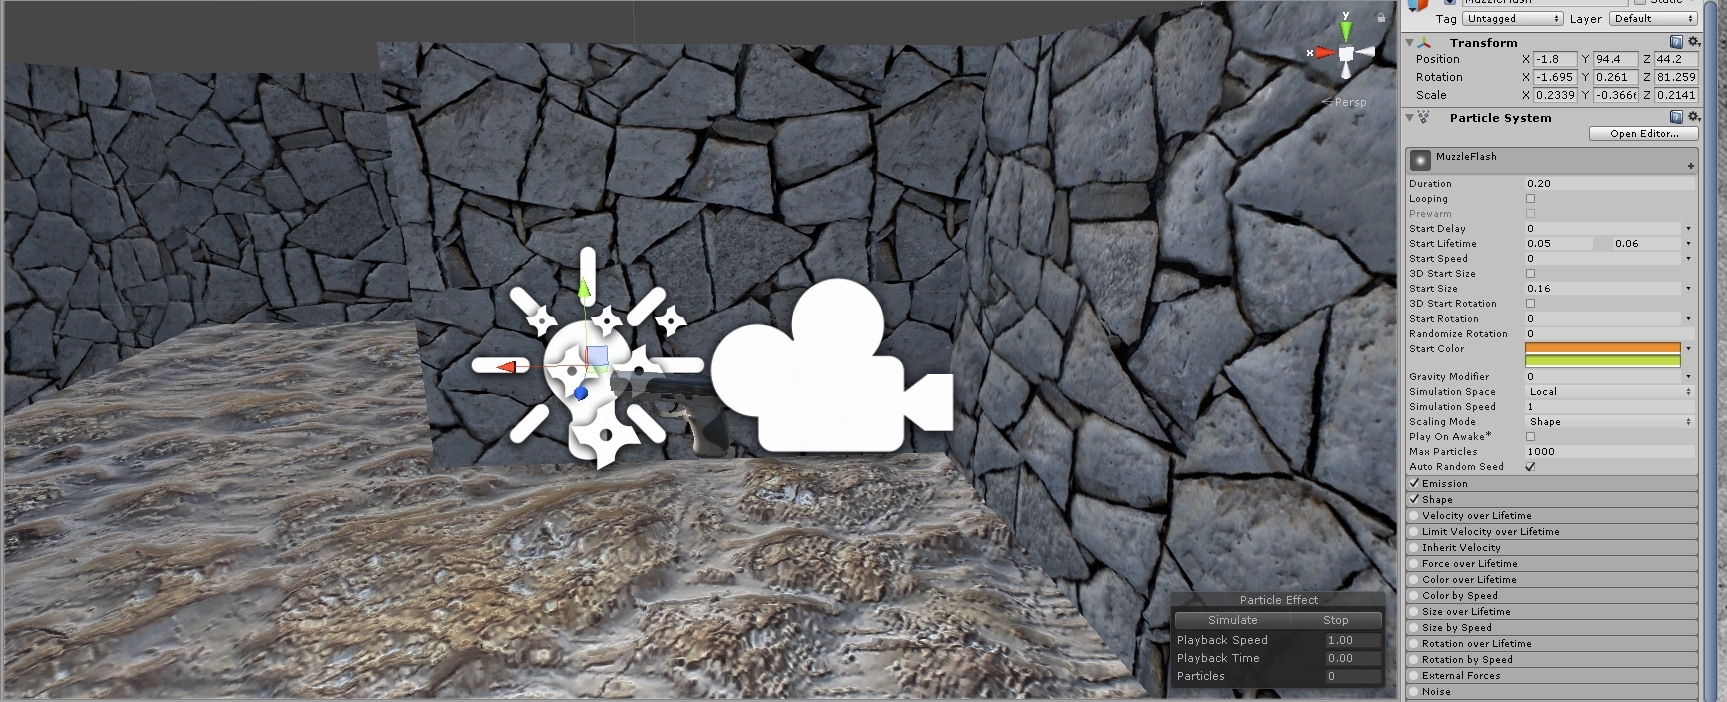
Then I coded the muzzleflash to the gun script I already had. so when ever I pressed the fire key the gun would emit a light
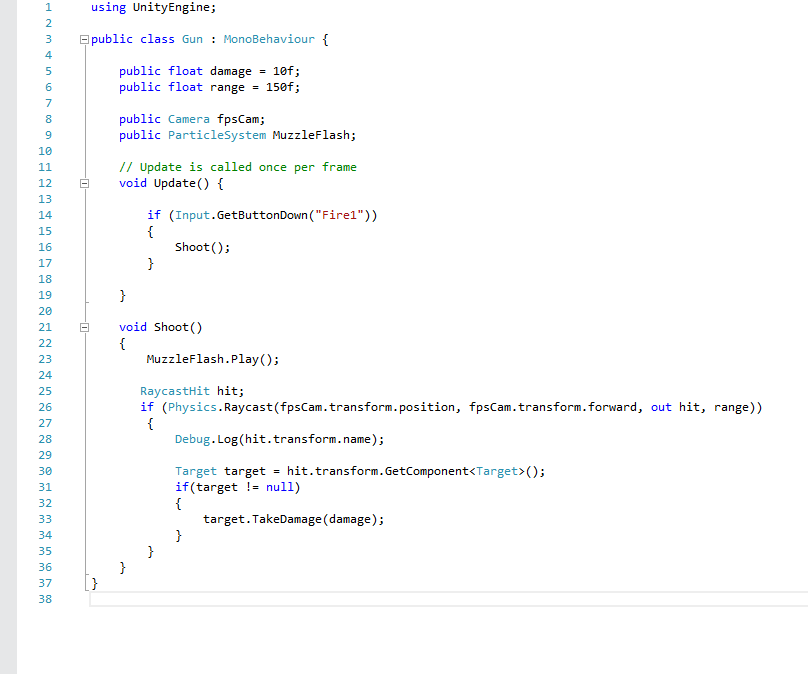
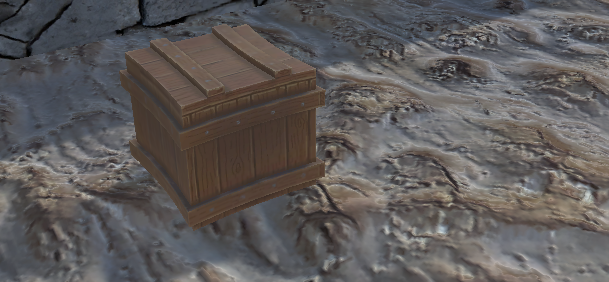
Making the target
When making my target I first imported a random wooden crate asset from the store to test the script.
For the script of my target I will be using C# again as that is the most easiest.

The image above shows the script I have added to the wooden crate. This script means that when ever i press the 'Fire1' key 5 times while looking at the target, the target will disappear.

No comments:
Post a Comment